How to use the Group Features
Because the directory includes everyone including children without real email addresses, and sometimes spouses who don’t have their own email addresses, it is not very feasible to just email everyone, even for a family reunion notice. So, you can create a selected group to be notified for reunions.
Nearly every large family has some who are interested in genealogy and family history. You or they can create a unique Group, so they can easily stay in touch with each other.
Then there are extended families within the larger group, who might want to stay in touch for things that mainly just interest them. Each such family can create a Group just for them.
One family has an annual retreat just for the female cousins. They can have a Group. Other special interest groups might include the hunters, and another the fishermen, and another the quilters, and another the gardeners. Shared interests can bring members of extended families together if they can easily stay in touch with each other. Each special interest can have its own Group.
The grouping feature also lets you print mailing labels for such things as Christmas cards, and wedding announcements and graduation announcements. But since these require printing and postage, it is likely that you would want a more selective Group to print labels for. Make a Group or groups for that.
You can have as many different groups as you want. Below are the instructions for setting up each group, and then for how to select and contact a group. In every case it is a simple 3 step process.
How to Create your own groups
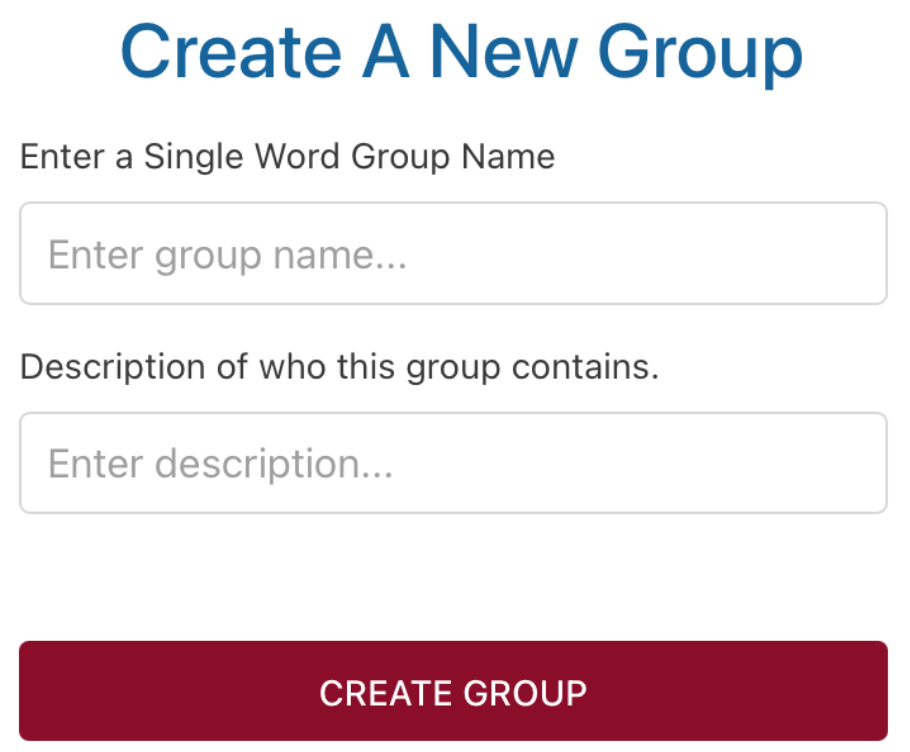
1- From the main Functions list click on the Add New Group button
2- On the next screen: Enter a SINGLE word for the Group Name. The description you type in will help you remember this group. Then click on the Create Group button. You will then be linked to the next screen.
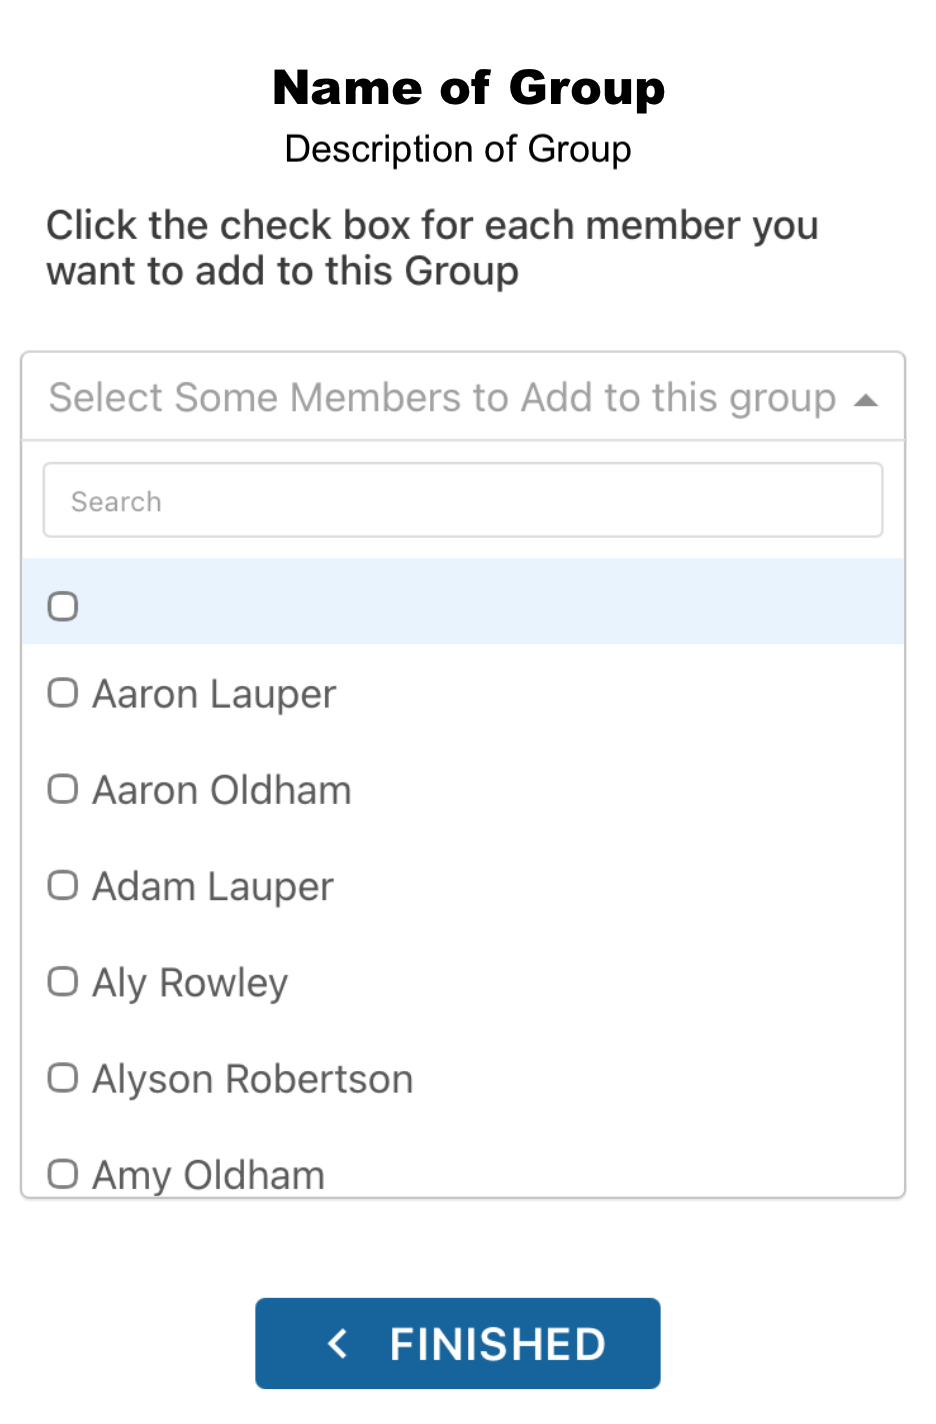
3- This screen will let you add the family members that you want to be part of this new group. Click in the “Select some . .” box and an alphabetical list of all members will appear. (Do not click the top blank button) Just by clicking on the box next to a name, that person will be added to your Group. Scroll to the bottom of the list as you click. Then you will see arrows which you show you the next members. Click an arrow and keep selecting. Click the FINISHED button when you have selected everyone you want.
How to Add members to an existing group
1- From the main Functions list click on the Add New Group button
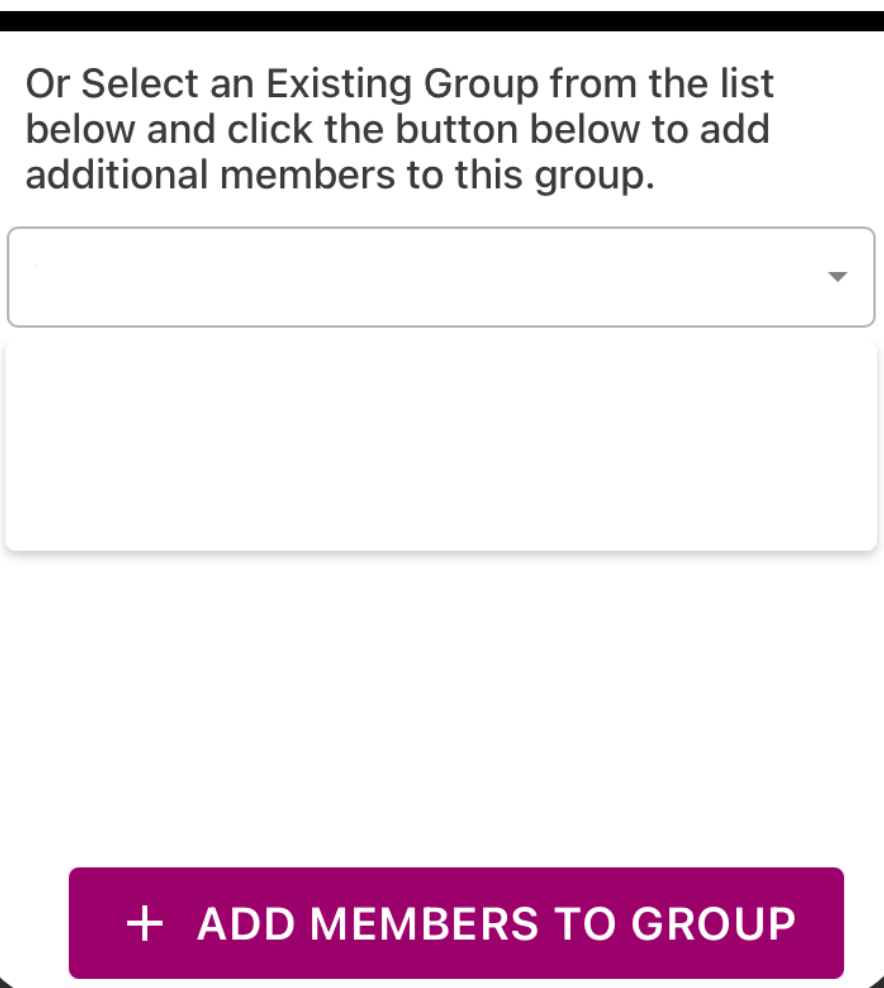
2- On the bottom half of the next screen, enter the name of the existing group to which you want to add new members. Then click the ADD MEMBERS TO GROUP button. You will be linked to the next screen.
3- This screen will let you add the family members that you want to be part of this group. Click in the “Select some . .” box and an alphabetical list of all members will appear. (Do not click the top blank button) Just by clicking on the box next to the name, that person will be added to your already existing Group. Scroll to the bottom of the list as you click. Then you will see arrows which you show you the next members. Click an arrow and keep selecting. Click the FINISHED button when you have selected everyone you want to add. (Note: removing a member from the Group requires you to go to the Upate a Member function, and delete the group name from that member's My Groups list.)
How to Send a Group Email
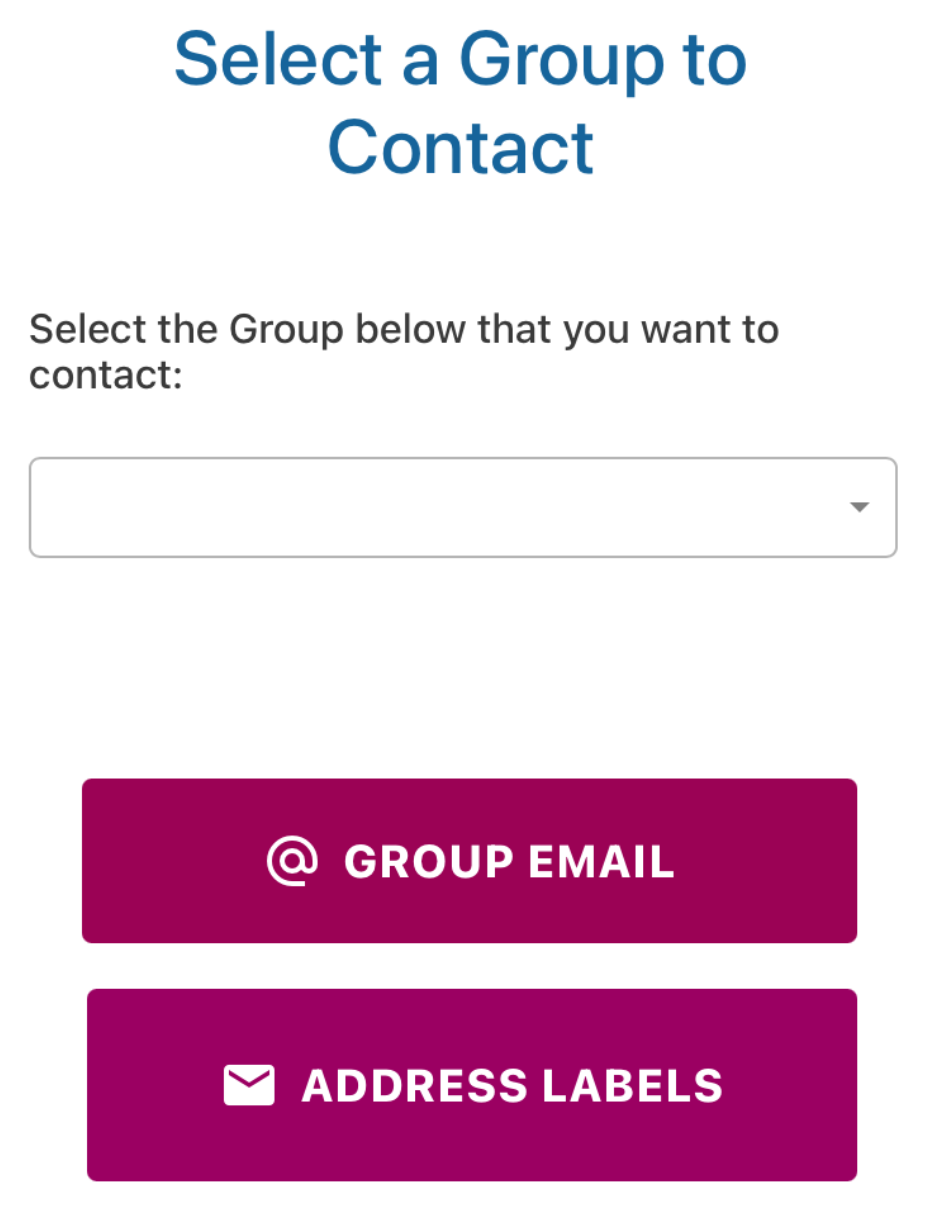
1- From the main Functions list click on the Group Actions button
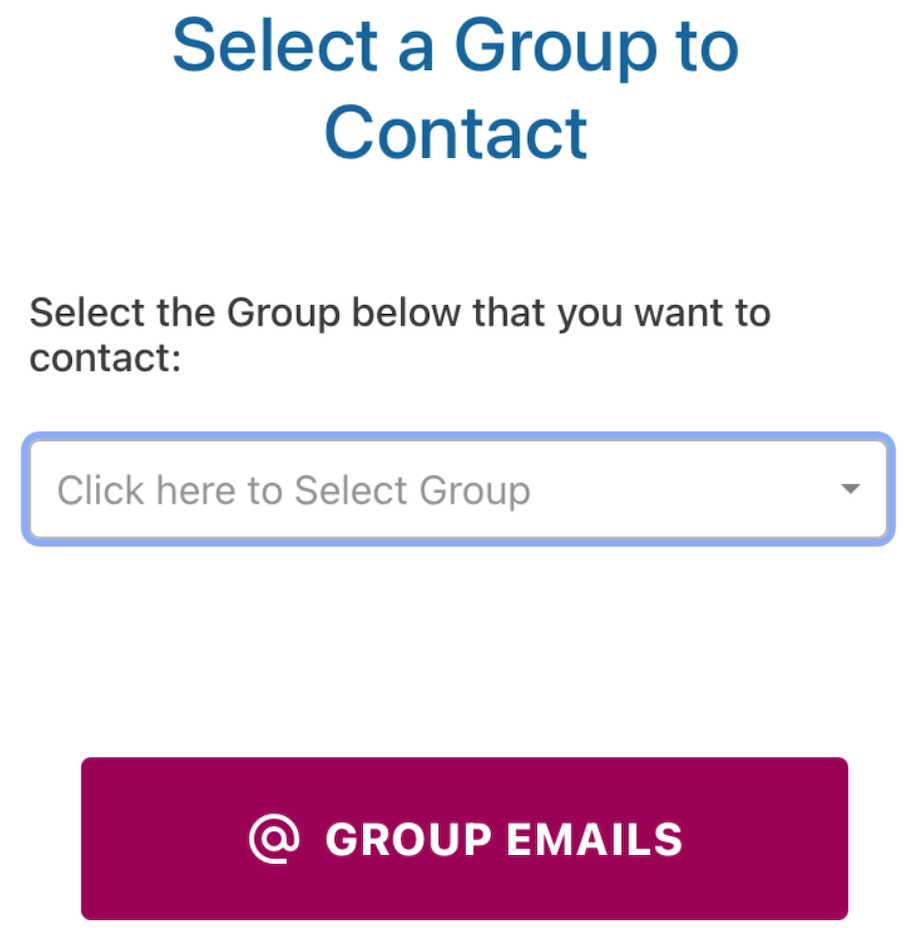
2- On the next screen: Enter the single word Group Name. That Group will show up in the list. When that name is the only one in the list, then click on the Group Emails button. You will be linked to the next screen.
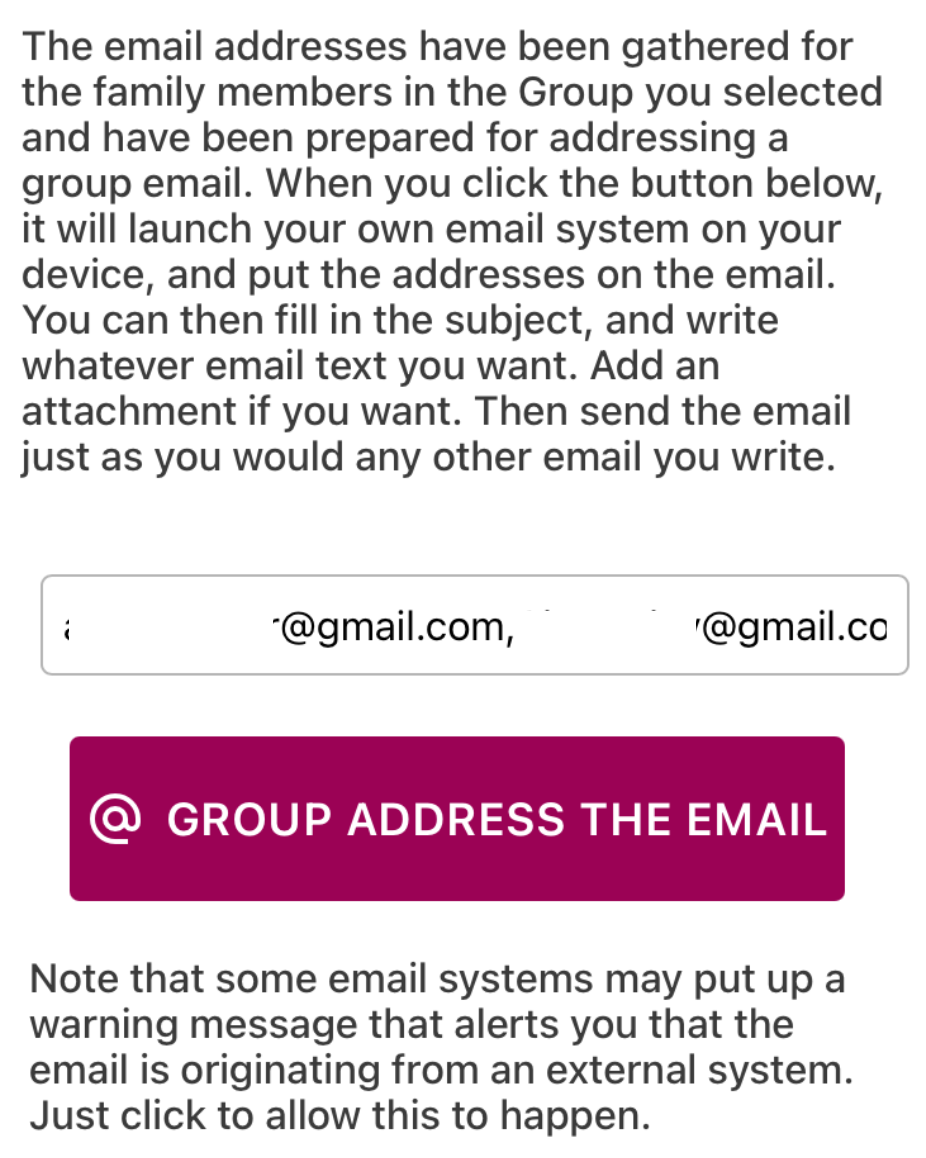
3- This screen will show the list of concatenated email addresses that the directory has collected for your Group. Click the Group Address the Email button to have these addresses applied to a new email in your own email system. You can write your pre-addressed email and send it from your own device or computer.
How to Create printable address labels for your Group
1- From the main Functions list click on the Group Actions button
2- On the next screen: Enter the single word for the Group Name. When that name is the only one in the list, then click on the Address Labels button down lower on the screen. You will be linked to the next screen.
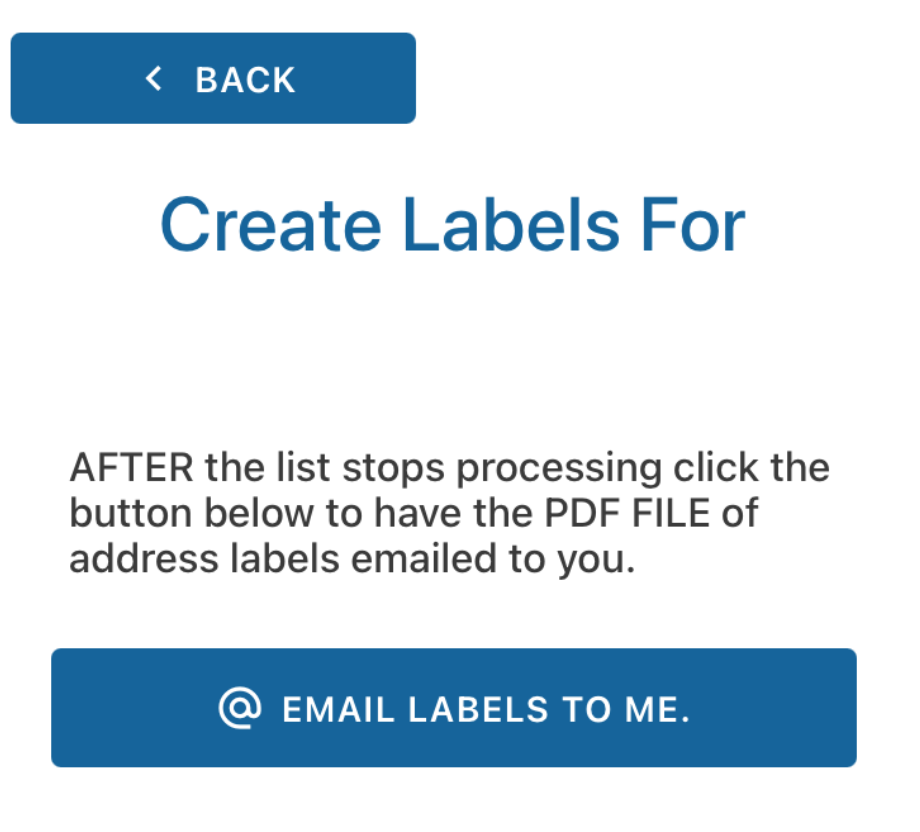
3- This screen will show you as each name and address is extracted for each member in your Group and formatted for printing on a label. It takes a few seconds for each name and address to be processed. You can see the timer as it happens. AFTER it finishes, it is ESSENTIAL that you click the Email Labels to Me button, in order for the formatted pages of labels to be emailed to you.